Unity使用NaveMesh实现第一人称视角移动
创始人
2024-01-21 14:51:14
0次
系列文章目录
Navemesh寻路系列文章
文章目录
目录
系列文章目录
文章目录
前言
二、使用步骤
1.引入库
2.读入数据
总结
前言
navemesh已经大量使用到游戏中,但大部分寻路都是使用SetDestination函数,给予一个目标点移动,第一人称直接操控移动的文章很少。
为了解决这个问题,特此出了这篇文章。
这篇博客主要使用NavMeshPath,通过得到移动数组,最终实现正确移动。
一、NavMeshPath是什么?
由导航系统计算的路径。
路径以路标列表的形式表示,存储在 corners 数组中。这些路标不是由用户脚本直接设置的,但 NavMesh.CalculatePath 函数和 NavMeshAgent.path 属性会返回分配有正确路标的 NavMeshPath。
| corners | 路径的角点。(只读) |
| status | 路径状态。(只读) |
二、使用步骤
1.引入库
代码如下:
using UnityEngine;
using UnityEngine.AI;
2.读入数据
代码如下(示例):
NavMeshAgent.CalculatePath(_pos, m_NavMeshPath);
该处可以获取到navemesh的寻路路径。
然后使用位移实现点到点之间的移动,目前的写法可以适用于上下坡等不平整地图。
完整代码如下:
using System.Collections;
using System.Collections.Generic;
using UnityEngine;
using UnityEngine.AI;///
/// 人物平滑移动器
///
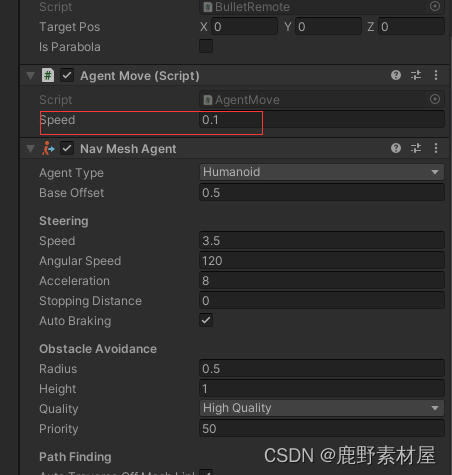
public class AgentMove : MonoBehaviour
{public float speed = 0.5f;// Start is called before the first frame updatevoid Start(){NavMeshAgent = transform.gameObject.GetComponent();m_NavMeshPath = new NavMeshPath(); }private NavMeshAgent NavMeshAgent;private NavMeshPath m_NavMeshPath;/// /// 前一个路径点索引/// private int m_previousIndex = 0;/// /// 后一个路径点索引/// private int m_currentIndex = 1;private bool isUpdate = false;void GetNav(Vector3 _pos){isUpdate = true;Debug.LogError(transform.position + " " + _pos);transform.LookAt(_pos);//计算NavMeshPathNavMeshAgent.CalculatePath(_pos, m_NavMeshPath);//初始化路径点索引m_previousIndex = 0;m_currentIndex = 1;//if (m_NavMeshPath.corners.Length>1)//transform.position = m_NavMeshPath.corners[m_CurrentPathPointIndex];//Debug.Log(m_NavMeshPath.corners[m_CurrentPathPointIndex]+" "+ m_NavMeshPath.corners.Length);}/// /// 移动到目标点(NavMeshPath.corners第0个路径点是当前游戏物体所在位置,以此类推)/// public void RunToTarget(){isUpdate = m_currentIndex <= m_NavMeshPath.corners.Length - 1;//防止数组越界if (!isUpdate) return;var _pos = transform.position;_pos.y = m_NavMeshPath.corners[m_currentIndex].y;//如果游戏物体坐标与当前路径点坐标距离小于0.1即可认为已抵达,可以向下一个路径点导航if ((_pos - m_NavMeshPath.corners[m_currentIndex]).magnitude <= 0.1f){//递增路径点索引m_previousIndex++;m_currentIndex++;//防止数组越界if (m_currentIndex > m_NavMeshPath.corners.Length - 1){//Debug.LogError(m_NavMeshPath.corners[m_CurrentPathPointIndex]); //处理动画切换,请无视return;}//处理人物转向,请无视}//匀速运动。计算出前一个路径点到当前路径点方向,然后移动transform.Translate(((-m_NavMeshPath.corners[m_previousIndex] +m_NavMeshPath.corners[m_currentIndex]).normalized) *(/*Time.deltaTime **/ speed/* *2f*/), Space.World);Debug.Log(transform.position + " " + m_NavMeshPath.corners[m_currentIndex]);}public void Update(){var _fx = 1;if (Input.GetKey(KeyCode.W)){GetNav(transform.position + Vector3.forward * _fx);}if (Input.GetKey(KeyCode.A)){GetNav(transform.position - Vector3.right * _fx);}if (Input.GetKey(KeyCode.S)){GetNav(transform.position - Vector3.forward * _fx);}if (Input.GetKey(KeyCode.D)){GetNav(transform.position + Vector3.right * _fx);}if (Input.GetKeyUp(KeyCode.W) || Input.GetKeyUp(KeyCode.A) || Input.GetKeyUp(KeyCode.S) || Input.GetKeyUp(KeyCode.D)){isUpdate = false;}//开始导航RunToTarget();}
}
实现效果截图:
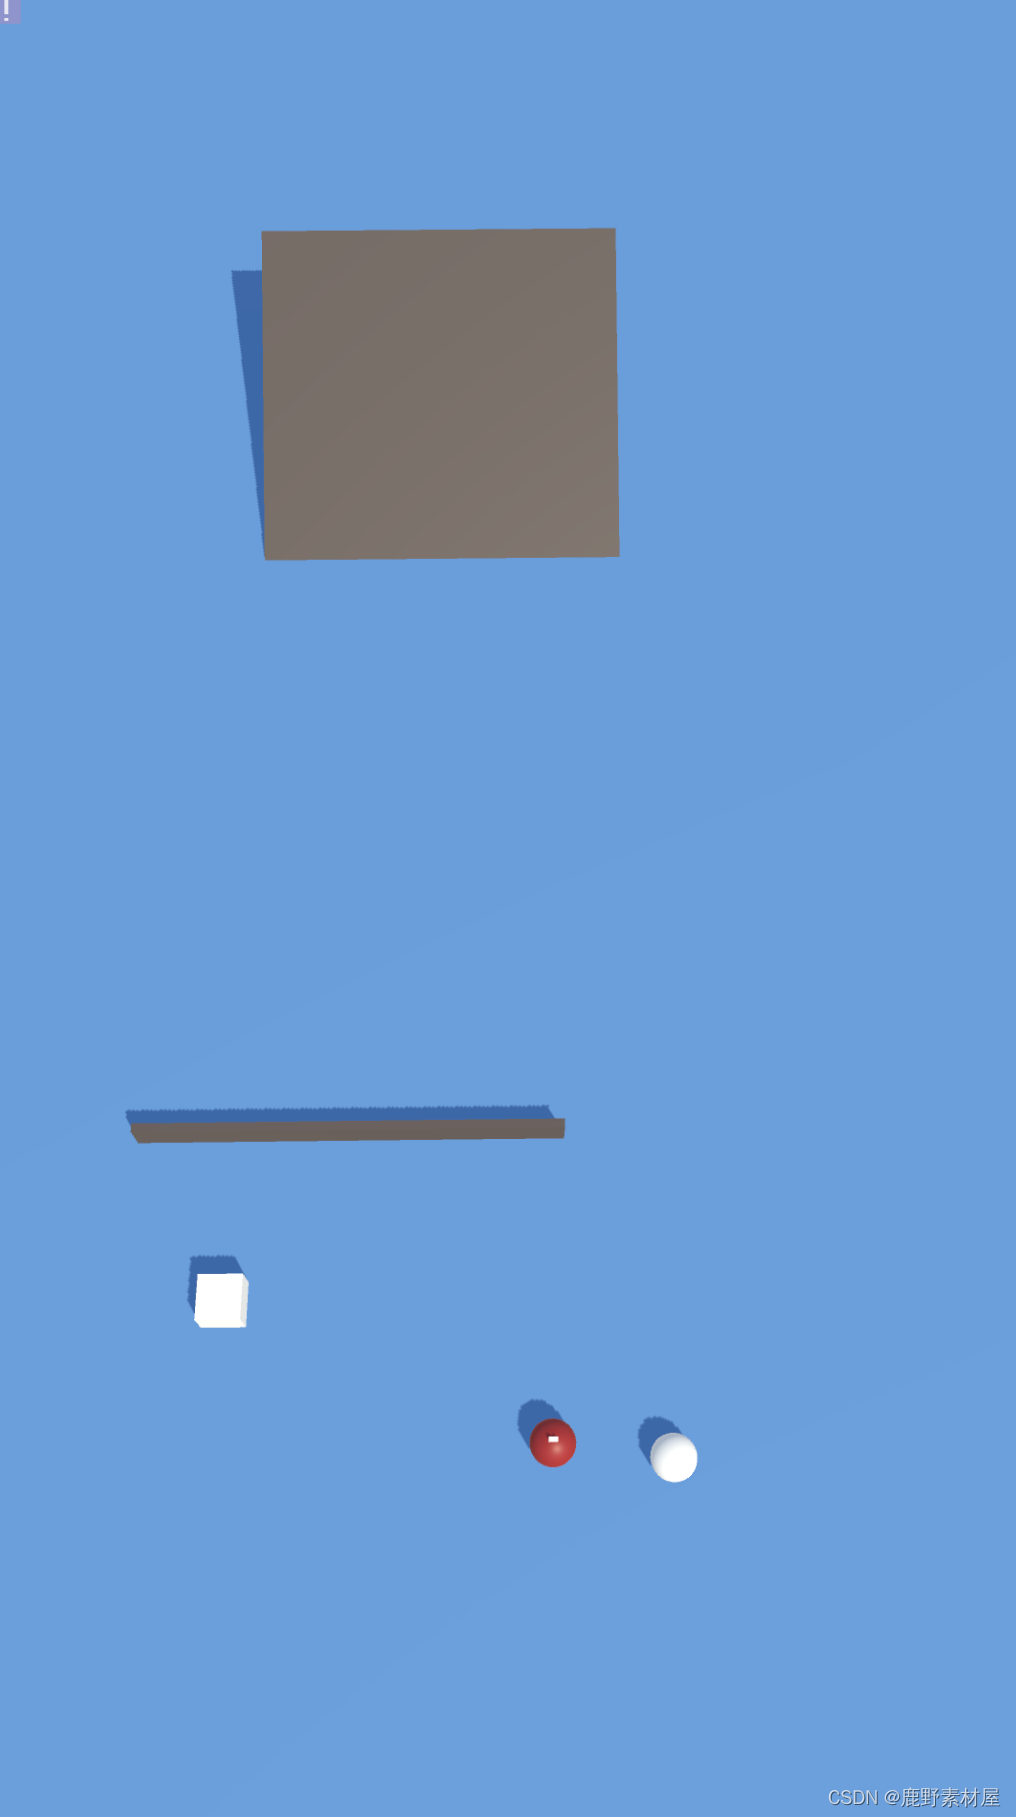
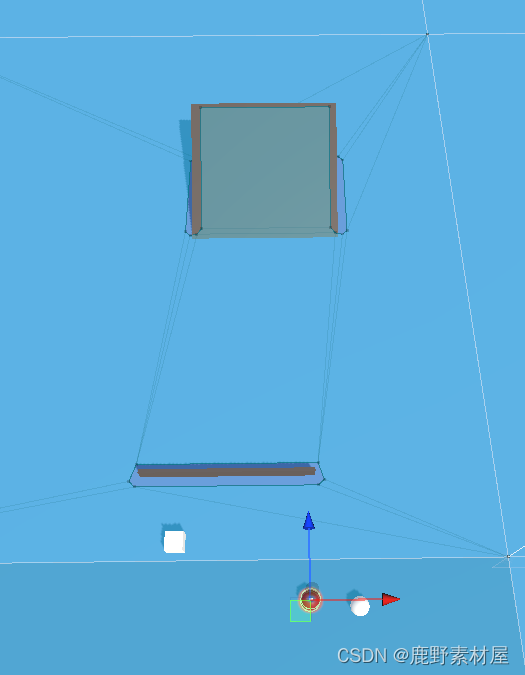
使用WASD即可控制移动。
总结
以上就是今天要讲的内容,本文仅仅简单介绍了NavMeshPath的使用,而NavMeshPath提供了大量能使我们快速便捷地处理数据的函数和方法。(吐槽下~官方总结)
相关内容
热门资讯
喜欢穿一身黑的男生性格(喜欢穿...
今天百科达人给各位分享喜欢穿一身黑的男生性格的知识,其中也会对喜欢穿一身黑衣服的男人人好相处吗进行解...
网络用语zl是什么意思(zl是...
今天给各位分享网络用语zl是什么意思的知识,其中也会对zl是啥意思是什么网络用语进行解释,如果能碰巧...
苏州离哪个飞机场近(苏州离哪个...
本篇文章极速百科小编给大家谈谈苏州离哪个飞机场近,以及苏州离哪个飞机场近点对应的知识点,希望对各位有...
发春是什么意思(思春和发春是什...
本篇文章极速百科给大家谈谈发春是什么意思,以及思春和发春是什么意思对应的知识点,希望对各位有所帮助,...
为什么酷狗音乐自己唱的歌不能下...
本篇文章极速百科小编给大家谈谈为什么酷狗音乐自己唱的歌不能下载到本地?,以及为什么酷狗下载的歌曲不是...
家里可以做假山养金鱼吗(假山能...
今天百科达人给各位分享家里可以做假山养金鱼吗的知识,其中也会对假山能放鱼缸里吗进行解释,如果能碰巧解...
四分五裂是什么生肖什么动物(四...
本篇文章极速百科小编给大家谈谈四分五裂是什么生肖什么动物,以及四分五裂打一生肖是什么对应的知识点,希...
华为下载未安装的文件去哪找(华...
今天百科达人给各位分享华为下载未安装的文件去哪找的知识,其中也会对华为下载未安装的文件去哪找到进行解...
怎么往应用助手里添加应用(应用...
今天百科达人给各位分享怎么往应用助手里添加应用的知识,其中也会对应用助手怎么添加微信进行解释,如果能...
客厅放八骏马摆件可以吗(家里摆...
今天给各位分享客厅放八骏马摆件可以吗的知识,其中也会对家里摆八骏马摆件好吗进行解释,如果能碰巧解决你...